Scanning
Document scanning best practices: a practical checklist
The settings to use for each kind of document, how to prepare and batch the paper, when separator sheets still make sense, how to name files, which PDF to keep, and how to check a batch before the originals go away.
Ademero Team9 min read
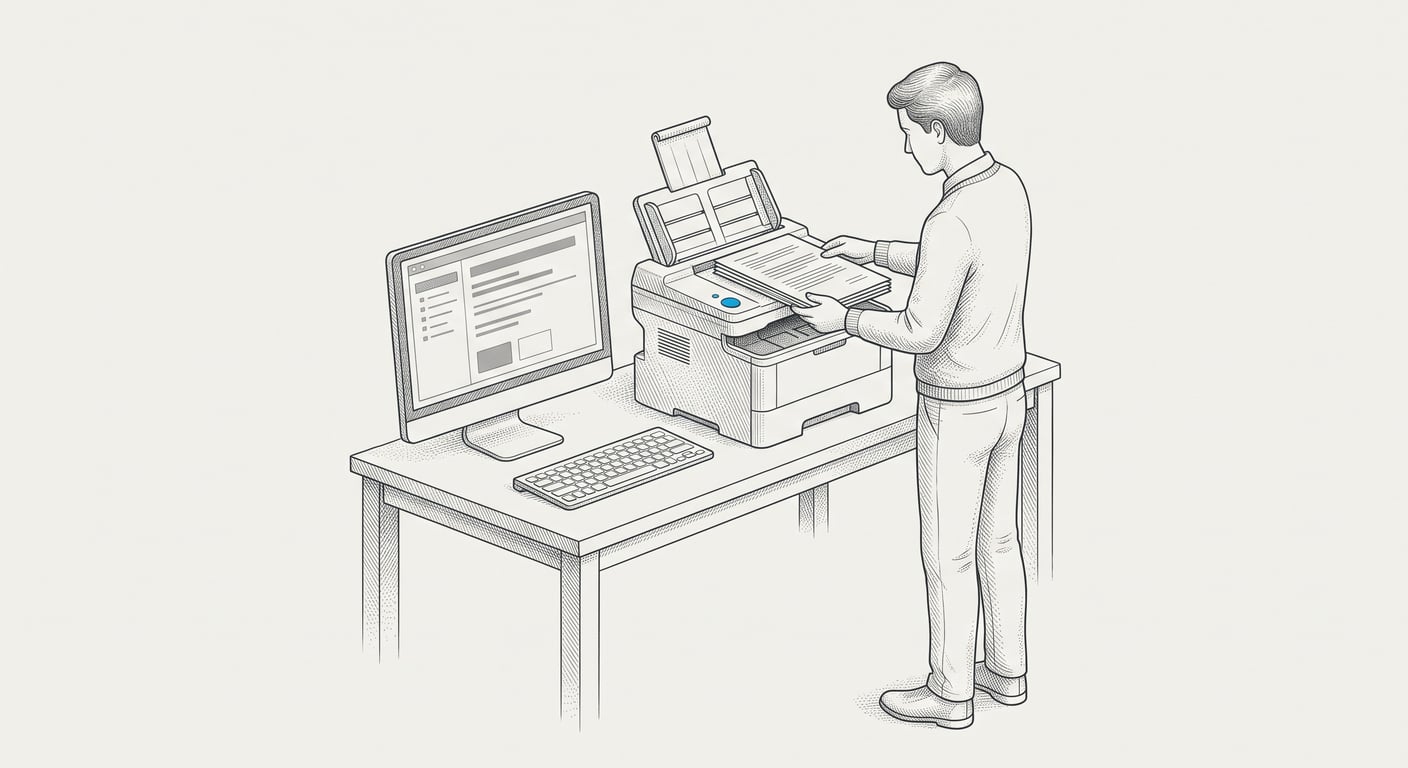
A scan is only useful if someone can find it, read it and trust that nothing is missing. Almost every problem with scanned archives traces back to a few decisions made at the scanner: the wrong resolution, no agreement on where one document ends, file names nobody can sort, and no check before the paper was shredded. This checklist covers each one. Print it and keep it by the scanner.
1. Settings by document type
Start from 300 dpi. It is sharp enough for text recognition and barcodes on almost any business document, and going higher makes bigger files without reading better. Change it only for a reason in the table below.
| Document | Resolution | Color mode | Why |
|---|---|---|---|
| Typed letters, invoices, statements | 300 dpi (200 for clean, large print) | Black and white or grayscale | Text is all that matters; small files |
| Forms with small print or checkboxes | 300 to 400 dpi | Grayscale | Tiny print and light ticks survive |
| Faint copies, carbons, faxes | 300 dpi | Grayscale | Black and white can drop faint strokes entirely |
| Stamps, signatures, highlights that matter | 300 dpi | Color | A red “PAID” stamp or a highlighted total carries meaning |
| Receipts and thermal paper | 300 dpi | Grayscale | Low contrast; use a carrier sheet or the flatbed for small slips |
| Photographs | 600 dpi | Color | Detail matters more than file size; keep them as separate files |
| Pages with barcodes | 300 dpi | Black and white or grayscale | Barcodes need crisp edges, not color |
Three more settings matter as much as resolution:
- Scan both sides (duplex) unless you are certain the backs are blank. Terms, remit-to addresses and signatures often sit on the back.
- Be careful with blank-page removal. It cleans up duplex scans of single-sided pages, but it can also discard a nearly blank page that matters, or a blank sheet you meant as a separator.
- Save one profile per document family (for example AP, HR, contracts) so every operator scans the same way.
2. Prepare the paper
Preparation prevents more rework than any setting. Before a stack goes in the feeder:
- Remove staples, paper clips, binder clips and sticky notes. Copy anything written on a sticky note onto the page or scan it separately.
- Flatten folds and curled corners; most jams and crooked pages start here.
- Mend tears with tape on the back, and send fragile, torn or bound pages through the flatbed instead of the feeder. For whole bound volumes or very fragile originals, a book or overhead scanner, or a scanning service, is kinder to the paper.
- Turn every page the same way up and face the same direction.
- Pull out envelopes, blank cover pages and anything that should not be kept.
- Group very small or very thick paper together so the feeder settings suit the whole stack.
3. Build sensible batches
- 01
Batch by destination, not by size
One batch for AP, one for HR, one for a client file. Documents that end up in the same place can share settings, naming and checks. - 02
Keep batches small enough to check
A batch should be one that a person can review in one sitting, such as one day of mail or one box. A bad batch is then easy to rescan. - 03
Label the physical batch
Put a batch sheet or sticky label on the stack with the date and who scanned it, and keep it with the paper until the batch passes its check. - 04
Keep originals in order
Put each scanned stack back in the same order in a dated box. If a page needs rescanning, you can find it in seconds.
4. Separator sheets or automatic separation
A scanner produces one long stream of pages. Something has to decide where each document starts. These are the practical options:
| Method | Works well for | Watch out for |
|---|---|---|
| One document per scan | Very low volume | Slow, and easy to miss a page |
| Fixed page count | Forms that are always the same length | One missing or extra page shifts every document after it |
| Separator sheets | Mixed stacks where you want certainty; poor-quality pages | Printing and inserting them; a forgotten sheet merges two documents |
| Barcodes on the documents | Paper that already carries a barcode | Unrelated barcodes on the page, such as tracking numbers |
| Automatic separation | Most business paper, once tested on your own stacks | Check multi-page documents and look-alike pages in a pilot |
Software that recognizes document types can usually tell where an invoice ends and a statement begins without any sheets. Keep a few separator sheets anyway, to force a split when you know the software would struggle. The batch scanning guide compares every method in more detail.
5. Name files the same way, every time
A naming convention makes a document findable without search. A pattern that works for most offices:
Document type › Vendor or person › YYYY-MM-DD_Reference.pdf
For example: Invoice › Northbridge Office Supply › 2026-09-04_INV-2401.pdf
- Date first, year-month-day, so files sort in date order everywhere.
- Use a value printed on the document (invoice number, claim number, employee ID), not a scan counter.
- Decide what a missing value looks like, such as “No PO”, so a gap is visible instead of producing a broken name.
- Never overwrite. Two documents with the same name should both be kept, with -2 added to the second.
- Keep private values out of names. Tax IDs and account numbers in file names are visible to anyone who can see the folder.
- Keep folders shallow, two or three levels.
Typing names by hand is where conventions break down. Our guide to naming scanned files automatically shows how to build names from values read off the page.
6. Searchable PDF or PDF/A
Save text documents as searchable PDF: the page image plus an invisible text layer, so search and copy work. One PDF per document, not one PDF per batch.
Choose PDF/A when the file is a record you must keep for years. PDF/A is an archival version of PDF that embeds everything needed to display the file the same way later. It is not automatically searchable: an image-only scan can be valid PDF/A with no text at all, so ask for a searchable PDF/A. If nobody has told you which version to use, PDF/A-2u is a sensible default for scanned business documents.
| Keep it as | When |
|---|---|
| Searchable PDF | Working files that people open, share and search every day |
| Searchable PDF/A | Records kept for years, or anything a records policy says must be archival |
| TIFF | Only when a system you feed specifically requires it |
| JPEG or PNG | Photographs and images, not text documents |
The full explanation, with versions and how to check a file, is in searchable PDF vs PDF/A.
7. Check every batch before the paper goes
Problems found the same day cost a rescan. Problems found after shredding cost the document. Check each batch right away:
- Page count: pages scanned match pages in the stack (count, or weigh the stack against a known page count).
- Splits: the number of documents matches what you put in; no two invoices stuck together, no document cut in half.
- Legibility: open a few pages at 100% and read the smallest print. Check for streaks from a dirty scanner glass.
- Orientation and crop: pages upright, straight, with no edges cut off.
- Search: search for a word you can see on a page. If it is not found, text recognition failed for that file.
- Names and data: spot-check file names and any captured values against the paper.
- Only then mark the batch as done and move the paper to its retention box. Keep it for the period your retention schedule sets before you shred.
Mistakes to avoid
- Scanning everything in color at 600 dpi “to be safe”. Huge files, slower search, and no better text recognition.
- One giant PDF per box. Nobody can find one document in a 400-page file. Split into one PDF per document.
- Black and white on faint copies. Light strokes vanish. Use grayscale.
- Naming files by hand under time pressure. Conventions drift within a week. Let the software build names from the page.
- Shredding before checking. The one bad page always turns out to be the one someone needs.
- Never cleaning the scanner. Dust on the glass or rollers leaves a line down every page. Clean it on a schedule.
How CapturePoint 6 handles this checklist
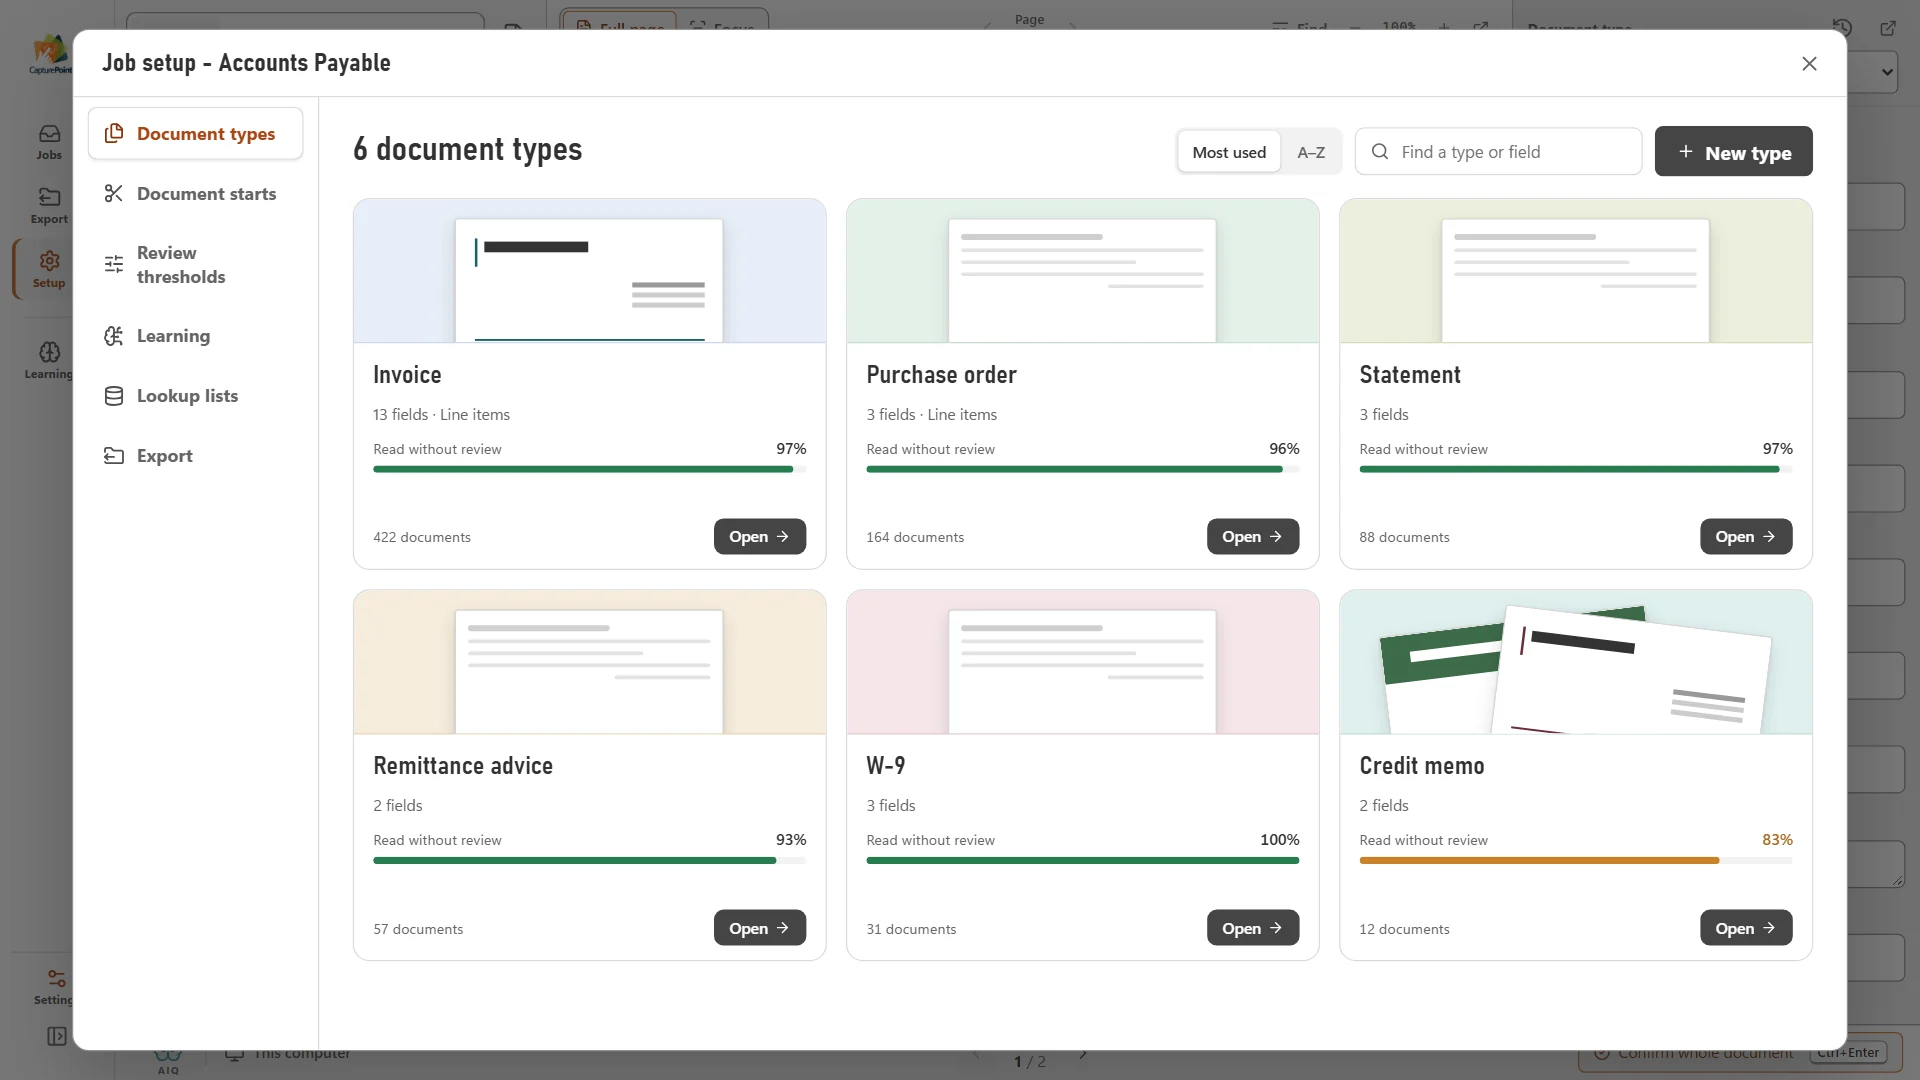
CapturePoint 6 is our capture software for Windows PCs. It asks TWAIN scanners for 300 dpi and double-sided scanning where the scanner supports them, and it never silently throws a scanned page away.
- Separation: automatically, at barcodes that match a value you set, both, or only at its own separator sheets, which you can print from the app.
- Sorting and reading: it recognizes each document type and reads the fields and tables, on the PC itself.
- Naming: folder and file names are built from the values it read, with wording for missing values, a warning when a private value would appear in a name, and -2, -3 instead of overwriting.
- Files: a searchable PDF for each document (archive-grade PDF/A optional), plus a data file with every captured value and a text file.
- Checking: anything it is unsure of waits for a person with the reason shown, so your batch check starts with a list.
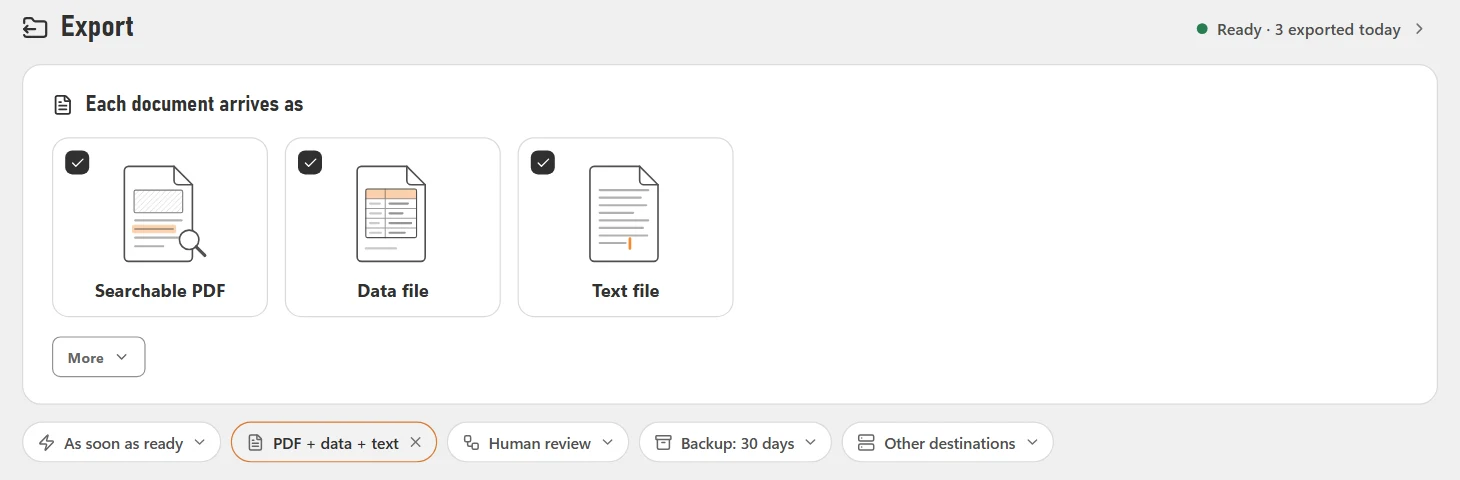
Files can also import as PDF, TIFF, JPEG, PNG, BMP or GIF, so emailed documents follow the same rules as paper. Finished documents go to your folders, Content Central, SharePoint or OneDrive, Google Drive, Dropbox or Nucleus One. Setup steps are in the CapturePoint help library.
Get the next guide by email
Practical notes on documents, capture and automation. No spam, unsubscribe any time.
CapturePoint 6
Scan the stack. It splits, sorts, reads and names every document.
Cutting-edge local AI on your own Windows PC. Finished documents go to your folders, Content Central, Nucleus One, SharePoint, OneDrive, Google Drive or Dropbox. The free trial starts the first time you open it, no form to fill in.