BlogScanning
Turn archive boxes into searchable records
Boxes of records are slow to search, costly to store and easy to lose. Here is how to plan an archive scanning project that leaves every document named and findable.
The free trial starts the first time you open it. No form to fill in.
Ademero Team5 min read
Archiving is not just storing old files. It is keeping your history findable, meeting retention rules and answering requests quickly years from now. If your archive lives in boxes, the fix is a well-planned scanning project.
The trouble with paper archives
- Records must be kept for years, often across many boxes and locations.
- Pulling a paper file can take hours or days.
- Documents get lost or misfiled, and fire or flood can take them all.
- Floor space and offsite storage cost money every year.
- Missing records create risk during audits and legal requests.
A digital archive fixes each of these: faster answers to audits and discovery, retention rules you can enforce, a record of who opened what, and backed-up copies instead of a single fragile original.
How CapturePoint 6 helps
- Batch scanning at your scanner's speed, from any TWAIN scanner, or import of PDF, TIFF and image files.
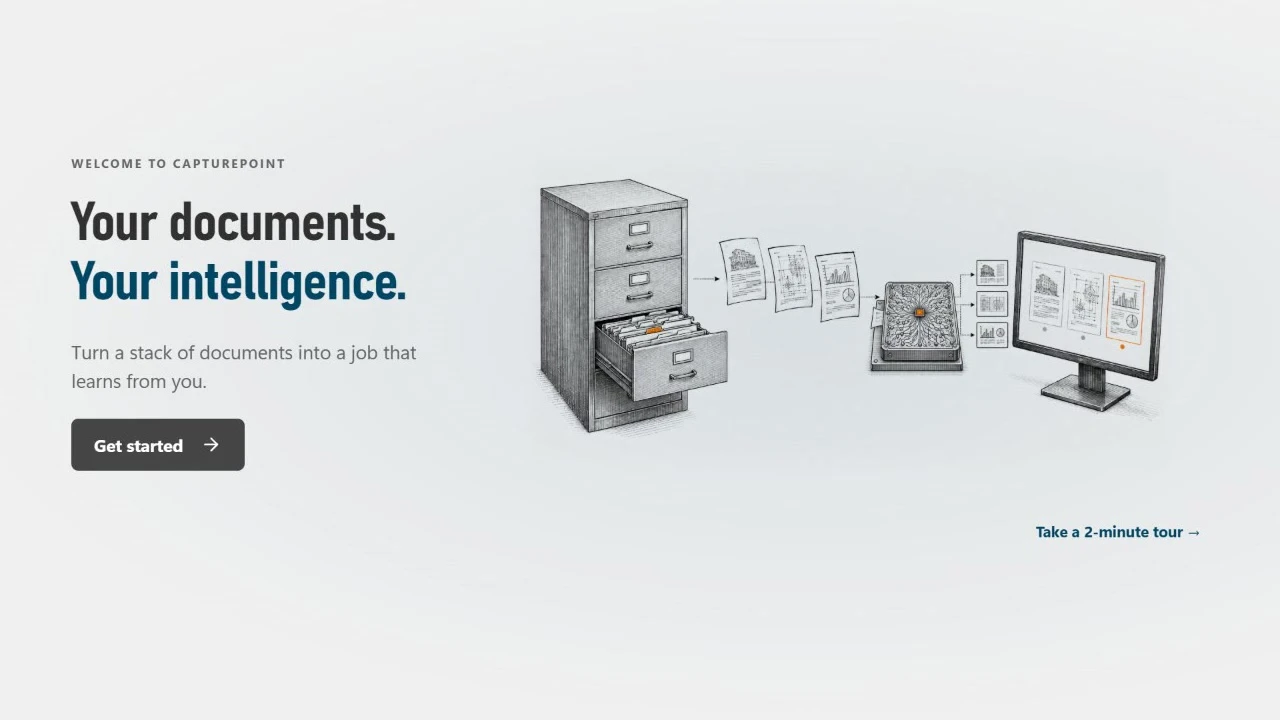
- Automatic splitting: it works out where each document begins and ends, and reads barcode separators if you use them.
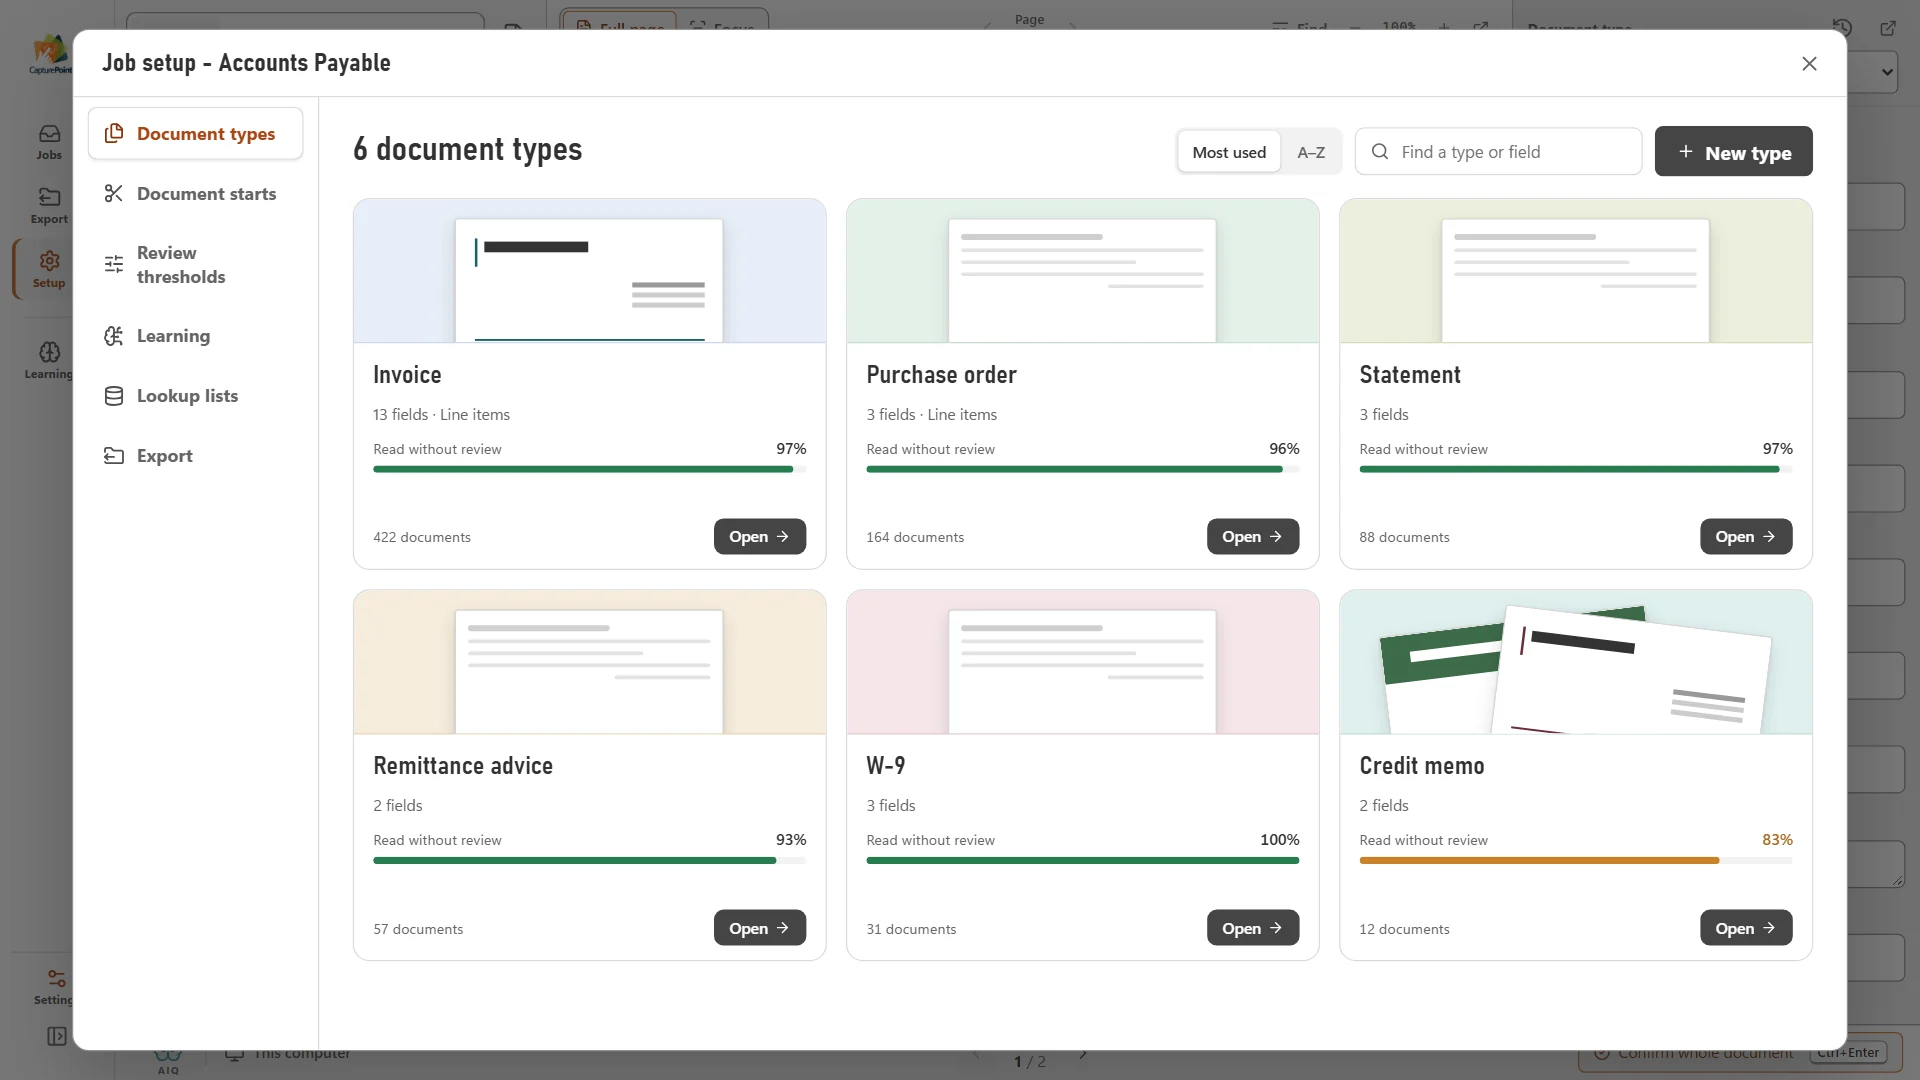
- Sorting by type: invoices, contracts, forms and correspondence are recognized and grouped.
- Reading and naming: key details are pulled from each document and used to name the file.
- Learning: confirm a document once and it handles the ones like it on its own.
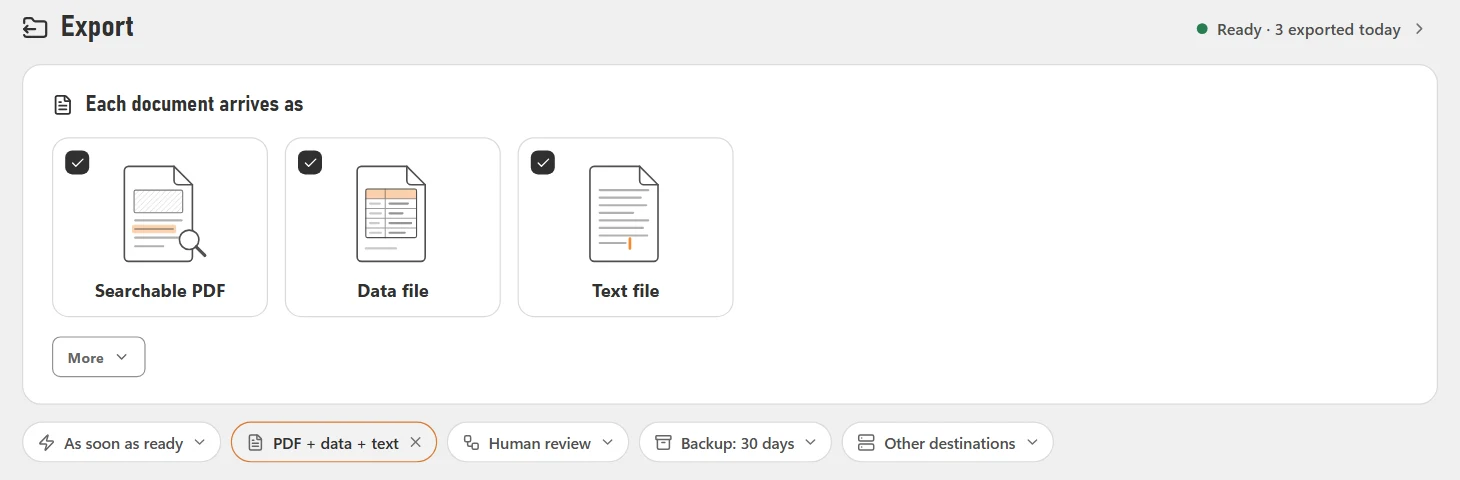
- Export as searchable PDF or archive-grade PDF/A to SharePoint, OneDrive, Google Drive, Dropbox, your folders, Content Central or Nucleus One.
The AI runs locally on your own Windows PC, which matters for archives full of sensitive history: documents are read where they are scanned. See how CapturePoint 6 works.
Plan the project
Assess the archive
- Volume: count boxes, cabinets or linear feet.
- Document types and condition: letter, legal, oversized, bound, and anything fragile that needs special handling.
- Retention: record the legal and business retention period for each type.
- Search fields: decide which details people will search by.
- Access: who needs these records, and how often.
Run it in four phases
- 01
Prepare
Organize boxes, remove duplicates, pull staples, plan the metadata, set quality standards and scan a test batch. - 02
Scan
Run production batches with image quality checks and progress tracking. - 03
Index
Apply metadata, review anything flagged and handle exceptions. - 04
Validate
Audit samples, test search, sign off with users and train them before any originals are disposed of.
Scan settings and metadata
Scan text at 300 DPI, save it as PDF/A with a text layer for long-term preservation, and index with one consistent set of fields.
| Document type | Suggested settings | Format |
|---|---|---|
| Text documents | 300 DPI, black and white | PDF/A with searchable text |
| Forms with color | 300 DPI, color or grayscale | PDF/A with searchable text |
| Photographs | 600 DPI, color | TIFF or JPEG 2000 |
| Engineering drawings | 400 DPI, black and white | PDF/A |
| Historical documents | 600 DPI, color | Uncompressed TIFF |
Fields worth capturing
- Identification: document ID, type, original date, date archived, department, retention expiration.
- Search: customer or client, project or matter number, subject, related documents, access restrictions.
Compliance and discovery
Stored in a document management system, an archive gets an audit trail, retention rules, permissions and fast search for legal requests.
- Integrity: an audit trail of access and changes, plus a record of when originals were disposed of.
- Standards: PDF/A (ISO 19005) for long-term preservation, and a retention period set for each record type, as your records schedule requires.
- Discovery: fast search, export with metadata intact, and legal holds that stop disposal of relevant records.
Project checklist
- Assess volume, retention and access needs, then design the fields and quality standards.
- Install CapturePoint 6 on the scanning PC and run a test batch.
- Scan in production, review flagged items and send finished files to your document system.
- Audit a random sample of every batch and reconcile document counts.
- Test search and train users.
- Dispose of originals according to policy, and record it.
- Set up backup and disaster recovery, and keep scanning new paper as it arrives.
For retention periods and legal holds in more depth, see our guide to document retention policies.
Get the next guide by email
Practical notes on documents, capture and automation. No spam, unsubscribe any time.
CapturePoint 6
Try it on your own stack this afternoon.
Install it on the PC next to your scanner, open it and scan. It splits, sorts, reads and names every document, then sends the files to your folders, Content Central, Nucleus One, SharePoint, OneDrive, Google Drive or Dropbox.